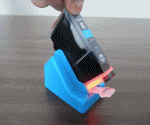
| For Epson Desktop Printers |
|
|
| |
| |
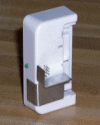
| For Epson Wide Format Printers |
|
|
| |
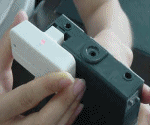
| For Canon Original Cartridges |
|
|
| |
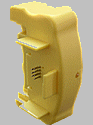
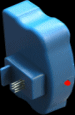
| For Epson 7900, 7910, 9900, 9910, PX-H8000, 10000 Printers |
CHIP RESETTER FOR THE EPSON 7900/9900 CARTRIDGES
Part Number: SK179
Product Type: Accessories For Inkjet Refilling And Bulk Feed Systems
Category: Accessory
Sub Category: REFILL KIT ACCESSORIES
Volume Discounts!
More Info
|
| |
| For Epson 7900/9900,9910,PX-H8000 Maintenance Tank Resetter |
WIDE FORMAT CHIP RESETTER FOR THE EPSON 7900/9900 MAINTENANCE WASTE TANK
Part Number: SK128
Product Type: Accessories For Inkjet Refilling And Bulk Feed Systems
Category: Accessory
Sub Category: REFILL KIT ACCESSORIES
Volume Discounts!
More Info
|
| For Epson 4900 Printers |
WIDE FORMAT CHIP RESETTER FOR THE EPSON STYLUS PRO 4900 CARTRIDGES
Part Number: SK149
Product Type: Accessories For Inkjet Refilling And Bulk Feed Systems
Category: Cartridge Chip Resetter
Sub Category: REFILL KIT ACCESSORIES
More Info
|